Business Problem:
Data Scientists typically have a Machine Learning (ML) environment setup on their local machines. While this environment is effective at handling small datasets and working individually, it lacks necessary hardware for training ML models with larger datasets as well as lacks collaboration capabilities among data scientists.
Solution:
Azure Machine Learning (AML) service provides an environment for data scientists and citizen data scientist to collaborate and build models of any type, at any scale.
Organizations typically deploy at least a Dev and a Production instance of this service for each department/project.
Deploying an AML service results in a Workspace in which data scientists are added. The data scientist then access this workspace through a dedicated URL (https://ml.azure.com)
Within the Worskspace, each Data Scientist gets their own Compute Instance which range from small to very large hardware configurations such has 128 cores and 4 TBs of RAM or configurations with GPUs! Within those compute instance, Jupyter, Jupyter Lab, and RStudio are preconfigured. All data scientists share the same file repository so that they can collaborate on machine learning projects.
Getting Started
Important Links:
1. Top Level Azure Machine Learning Page
2. Azure Machine Learning service SDK (Python SDK, R SDK)
3. Azure Machine Learning service GitHub Examples (Python Github, R GitHub)
4. Latest Release Notes
5. mlonazure GitHub Repo
6. Machine Learning on Azure LinkedIn Group
Concepts Covered:
1. Creating an Azure Machine Learning service
2. Creating a Compute Instance
3. Creating and running a Jupyter Notebook which uses the Azure ML Python SDK
Further Reading
Data Scientists – How you can stay productive while working remotely
Tutorial:
1. From the Azure Portal, create a new Machine Learning service:

2. Fill in the information for your Machine Learning Workspace

Note: Selecting between Basic and Enterprise Workspace Editions
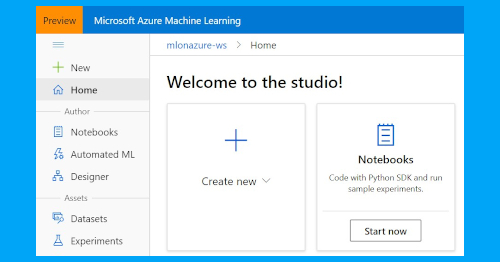
3. Launch the Azure Machine Learning studio or go directly to https://ml.azure.com

4. Click on Compute to create a Compute Instance and click on New

5. Once your Compute Instance Status is “Running”, click on Jupyter

6. Click on New and Python 3.6 – AzureML to Create a Jupyter Notebook

7. Fill in the notebook as below. Hint: Use the + icon to add more cells. Code is below for your Copy Paste convenience

import azureml.core
from azureml.core import Workspace, Datastore, Dataset

mlonazure_ws = Workspace.from_config()

mlonazure_ds = mlonazure_ws.get_default_datastore()

print('Workspace Name: ' + mlonazure_ws.name,
      'Resource Group: ' + mlonazure_ws.resource_group,
      'Default Storage Account Name: ' + mlonazure_ds.account_name,
      'AzureML Core Version: ' + azureml.core.VERSION,
      sep = '\n')
8. Go back to Compute Instance and this time select Jupyter Lab

9. Open the notebook created above and run the cells.

Summary:
You have successfully created an Azure Machine Learning Workspace, a Compute Instance and a Jupyter Notebook!
Thank you for reading. Please provide feedback below.
Comments are closed